Beach outting!

So this is a quick post just for fun! We went to the beach today!

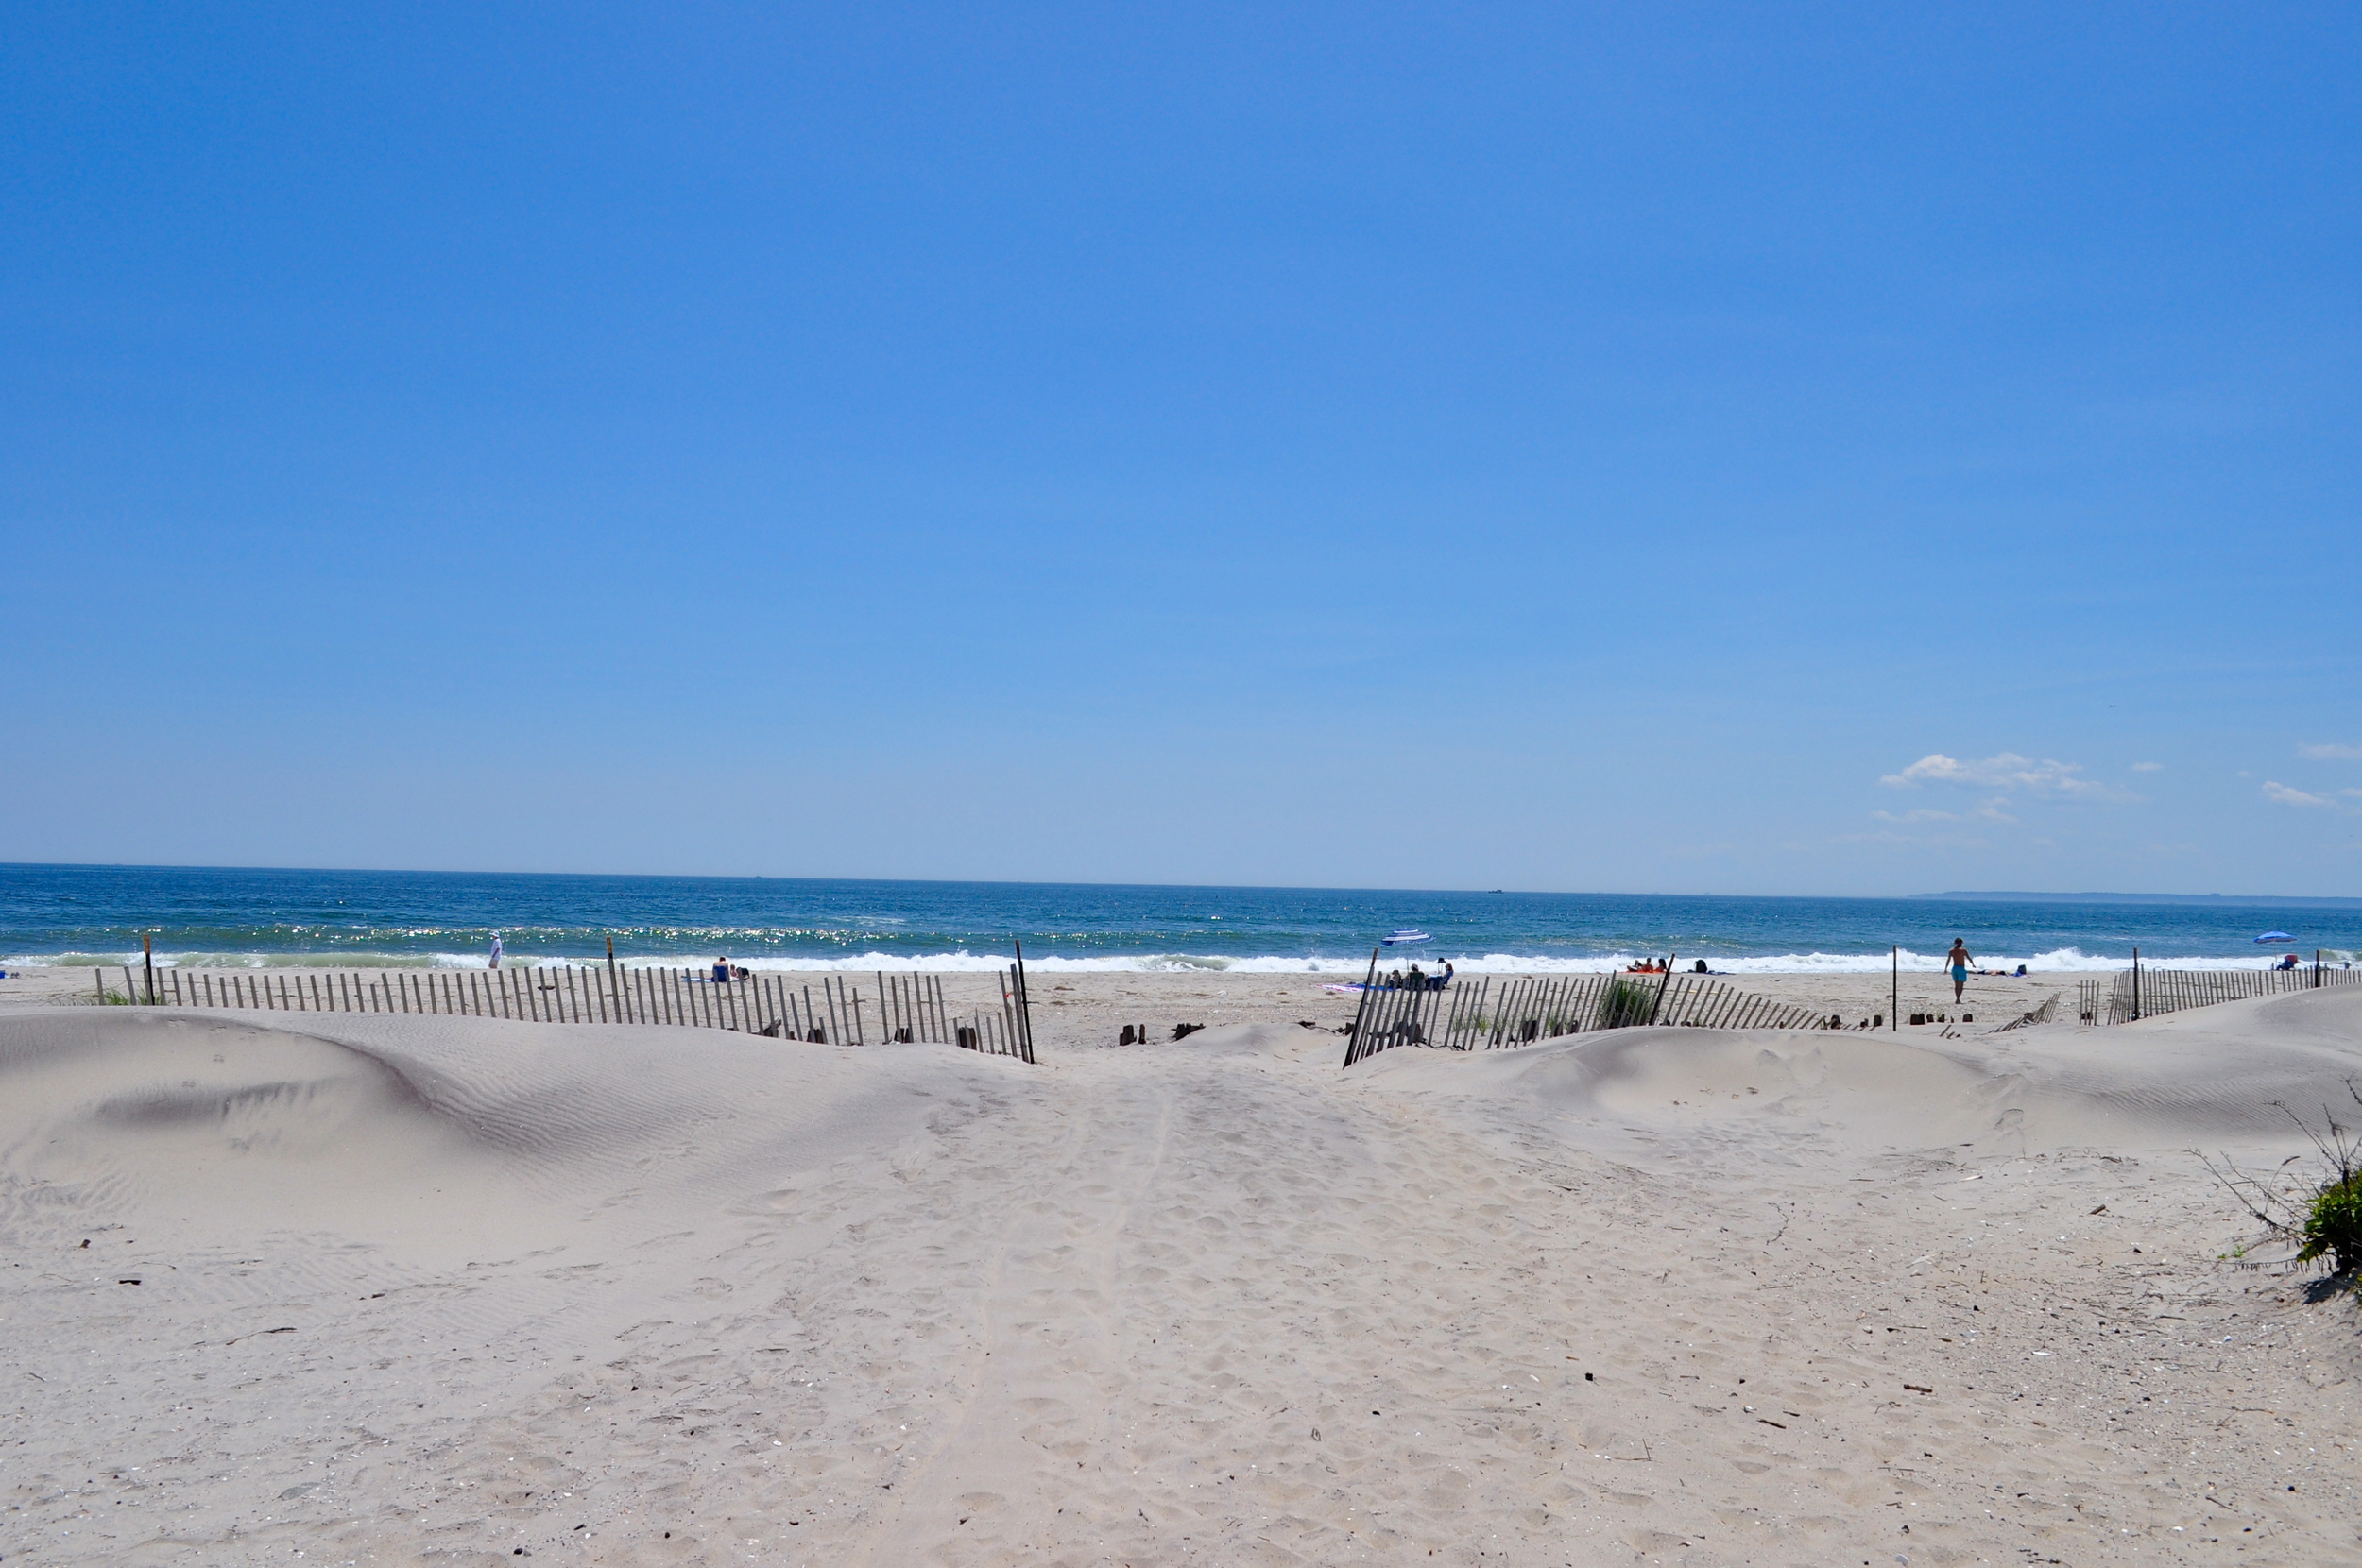
It was perfect weather and since it was a weekday, there was hardly anyone there! This was the first time since trash free that I went to the beach and I definitely wanted to remember to bring some snacks.
Last summer, we would always go to the bodega by my house before we took off to stock up on things. Water bottles, bananas, chips, trail mix in a plastic tub, tons of granola bars, and all of it in a plastic bag. I'm not going to lie, a lot of times I would eat a bar and just forgetfully leave the scraps in the sand. I knew I left it there, but in my head I would be thinking, "How bad is that really though? It's totally fine there, whatever". Now multiply that by every single person thinking that on the beach. Such a careless thought.
So now here is my new little to go snack kit for today!

My big mason jar of water, an apple I got at the farmers market, and bulk raw organic sicilian almonds. This was easy to carry in my backpack. There is also just something special about carrying it in these cloth bags. That sounds crazy but I feel light and really warm in my heart. Haha, yes, warm in my heart!

So another topic for this post is bathing suites! I used to buy SO many a year (3 or 4). Really cheap ones. Just so I can have new things every time. I do not find anything wrong with having a few set bathing suites, but think of where they are coming from, how they are manufactured, and what mark it is making on the earth to produce them.

This year my best friend Leslie and I decided to go vintage! We bought some really sweet 80's swim suits. I had bottoms from last year that I decided to wear, but the top is from a sweet vintage shop I follow on instagram. They sent it to me in very minimal, and recyclable packaging! I was hesitant to get it wet because sometimes swim suits stretch because of the cheap material, but Leslie and I were both happy with how well they were made! I am never disappointed with the quality of second hand goods.

Simple and creamy homemade almond milk

So when I decided to go trash free, there was a lot of built up excitement. Excited thinking about everything I could replace, followed by a slight doomed feeling thinking of the things I just couldn't do without and no hope of replacing. Then when I managed these feelings and ideas, I realized not only can I replace the impossible things, but probably make them way better. With that being said, I set out to find an alternative to store bought almond milk. I use almond milk every morning for my smoothie ritual so this was important to me. 

The first thing to do is make sure you buy almonds in bulk!  Better yet, bring your own cloth bag, that you can get here! These bags come in many different sizes so all your bulk shopping dreams can come true. I buy raw organic almonds. Why? Because organic means not used with pesticides/herbicides. Almonds easily absorb these chemicals because of their high oil content. When I buy, I also make sure to buy about two pounds worth just so you aren't taking multiple shopping trips for it. This amount lasts me about a month!

I searched high and low for recipes and the foundation of all of them are the same, but you can just tweak a few things based on preference. I personally wanted thick almond milk and I found an amazing recipe which I changed a bit to my preference. You can find it here!  Below is my version of simple and creamy almond milk. Lets get started!

                  Kitchen tools:

Blender/vitamix/food processor (any of these work)
A small/medium sized pot
Cheese cloth (what I use) or nut bag straine

                 Ingredients:

  • 1.5 cups of almonds    
  • 5-6 cups of water  
  • dash of salt                                                     
  • vanilla  
                                                              
    Now for the preferences:
     
  • 1/4 cup coconut sugar (to taste)
                    or
  • 1/4 cup maple syrup (to taste)
                    or
  • 4-6 dates (soak first)


                                                         OKAY! Wooo hoo you are ready!
     

1.  Put 1.5 cups of almonds in a container and completely immerse in water. Let sit for 8-12 hours. You can do a bit less (no less than 6). The longer you leave it, the stronger the almond flavor.
The photo shows the jar I used to submerse and the container I will use to keep in the fridge! 

2. After you have waited the allotted time, its time to whip out all your goods!
All my jars are unlabeled because they are rotating jars, meaning I will use them constantly for different bulk things. Starting from left I have coconut sugar, vanilla, salt, and maple syrup, and in the front I have my cheese cloth.

3. Strain and rinse the almonds well. Throw almonds with your dash of salt and 5-6 cups of water in the food processor or any blender you have for a few minutes. Let them blend until you see some nice froth. After its blended up, you now leave it and let it steep (about 10 minutes)! This is an important part because this is where your flavor will become stronger. I stir it mid-steep with a wooden spoon.


4. While you are letting that steep you can set up your jar! You can use a bowl too. Whatever is easiest to strain. At the bottom of my jar I put in the vanilla, 1/4 cup coconut sugar and dash of maple syrup.
Then pour a little at a time making sure it won't overflow. You'll have to squeeze strain the pulp with your hands every so often making sure all of the milk is out of the cheese cloth. I'll remove some almond pulp out of the cheese cloth every now and then so it doesn't get backed up. Save the almond pulp in another jar for later use (pancakes, almond flour, breads etc…)!!

DSC_0706.JPG

5. By now you should have a separate jar with the almond pulp and your jar of fresh almond milk! Make sure you stir in the sugar.  


Now if you want it thick listen up! 


6. Pour half of the milk into a small sauce pan and put on medium high. Monitor it carefully because right when it starts to form small bubbles along the sides of the pan (almost boiling) then its done. The point is to thicken it up just right, so don't let it start to really boil. When its forming small bubbles, take it off immediately and pour it back in with the other half of the milk! Let it sit out until room temperature.

You did it!!!! Enjoy!!

Pack it light

So to kick off my first blog post, I will start off by saying I wanted to do this blog in the first place because I was getting so many questions! Questions like, "how are you going to do (said thing) trash free?" or "don't you think it's a bit extreme?", or "isn't it way harder to be trash free?". So I decided to just show you what I do know, and hopefully some people can help me answer things I don't know or am struggling with! I love all these questions because that is what we all should be asking ourselves and then challenging them. I have discovered life to be way more purposeful, fun and creative by not wasting. Just think everything you own, consume, and purchase will be utilized! Not one thing will make a harsh mark on our earth. It is so conscious and so powerful.

This post is a little look inside a daily activity of mine - a mini morning adventure to a coffee shop in Red Hook, followed by a small sweet treat picnic by the water! The first photo is just to show how good looking these sustainable to-go cups are. I have one stainless steel mug for hot drinks, and a mason jar with my ecofriendly top, and stainless steel straw for iced drinks!


 My best friend (and room mate) and I always day dream of having discovery days. We usually have 6 am coffee pow wows in our living room so its hard to get us out of that cozy pattern, but once every week or two we try to deviate from our busy afternoon schedules and explore together!  Here is a picture of Olivia! She hates when I take pictures of her, but I make her do it anyway. :D 

The night before, I got apples and rhubarb from the farmers market and made apple rhubarb compote! I also made banana pumpkin corn muffins because I am currently in the "phasing out" stage of being trash free. Meaning everything I used to own (baking flours, sugars, etc…) are being used up until completely gone. I had pumpkin puree, teff flour and corn meal left over so I needed to whip something up!

All the containers in this photo are glass and are either jam jars I had saved, or glass yogurt jars I kept as well. The bag to the right I found in the house which I now use as my to go kit. In this kit, I store: 

  • a cloth napkin
  •  my coffee bell jar (either hot or cold)
  • a stainless steel straw
  • silverware 
  • cloth produce bags
  • small stainless steel bowl or tupperware (sometimes optional but in case of to go salads/rice bowls. etc…)

 
With that being said, it sounds like a lot to cram! But its so light and so easy to carry. You can stick this kind of kit in your back pack, purse, or cloth tote. I have it at all times just in case I find a cute coffee place, or if I go on a flash grocery shopping spree.

The photo on the bottom is to show you the tote I carry for the day!  I had all of this in there, and it was lightweight, and I still had tons of room. I also try to keep my clothing purchases sustainable by shopping for already used items. I find that thrift store purchases are better quality and better fitting anyway! 

If you are interested in the trash free route, or even if you want to start being a little more environmentally conscious I will attach the links to where I got all of these things!!
Thanks so much for reading!! 

http://www.ecojarz.com
http://www.simpleecology.com
http://www.lifewithoutplastic.com/store/