Simple and creamy homemade almond milk
So when I decided to go trash free, there was a lot of built up excitement. Excited thinking about everything I could replace, followed by a slight doomed feeling thinking of the things I just couldn't do without and no hope of replacing. Then when I managed these feelings and ideas, I realized not only can I replace the impossible things, but probably make them way better. With that being said, I set out to find an alternative to store bought almond milk. I use almond milk every morning for my smoothie ritual so this was important to me.
The first thing to do is make sure you buy almonds in bulk! Better yet, bring your own cloth bag, that you can get here! These bags come in many different sizes so all your bulk shopping dreams can come true. I buy raw organic almonds. Why? Because organic means not used with pesticides/herbicides. Almonds easily absorb these chemicals because of their high oil content. When I buy, I also make sure to buy about two pounds worth just so you aren't taking multiple shopping trips for it. This amount lasts me about a month!
I searched high and low for recipes and the foundation of all of them are the same, but you can just tweak a few things based on preference. I personally wanted thick almond milk and I found an amazing recipe which I changed a bit to my preference. You can find it here! Below is my version of simple and creamy almond milk. Lets get started!
Kitchen tools:
Blender/vitamix/food processor (any of these work)
A small/medium sized pot
Cheese cloth (what I use) or nut bag straine
Ingredients:
- 1.5 cups of almonds
- 5-6 cups of water
- dash of salt
- vanilla
Now for the preferences:
- 1/4 cup coconut sugar (to taste)
or - 1/4 cup maple syrup (to taste)
or - 4-6 dates (soak first)
OKAY! Wooo hoo you are ready!
1. Put 1.5 cups of almonds in a container and completely immerse in water. Let sit for 8-12 hours. You can do a bit less (no less than 6). The longer you leave it, the stronger the almond flavor.
The photo shows the jar I used to submerse and the container I will use to keep in the fridge!

2. After you have waited the allotted time, its time to whip out all your goods!
All my jars are unlabeled because they are rotating jars, meaning I will use them constantly for different bulk things. Starting from left I have coconut sugar, vanilla, salt, and maple syrup, and in the front I have my cheese cloth.
3. Strain and rinse the almonds well. Throw almonds with your dash of salt and 5-6 cups of water in the food processor or any blender you have for a few minutes. Let them blend until you see some nice froth. After its blended up, you now leave it and let it steep (about 10 minutes)! This is an important part because this is where your flavor will become stronger. I stir it mid-steep with a wooden spoon.
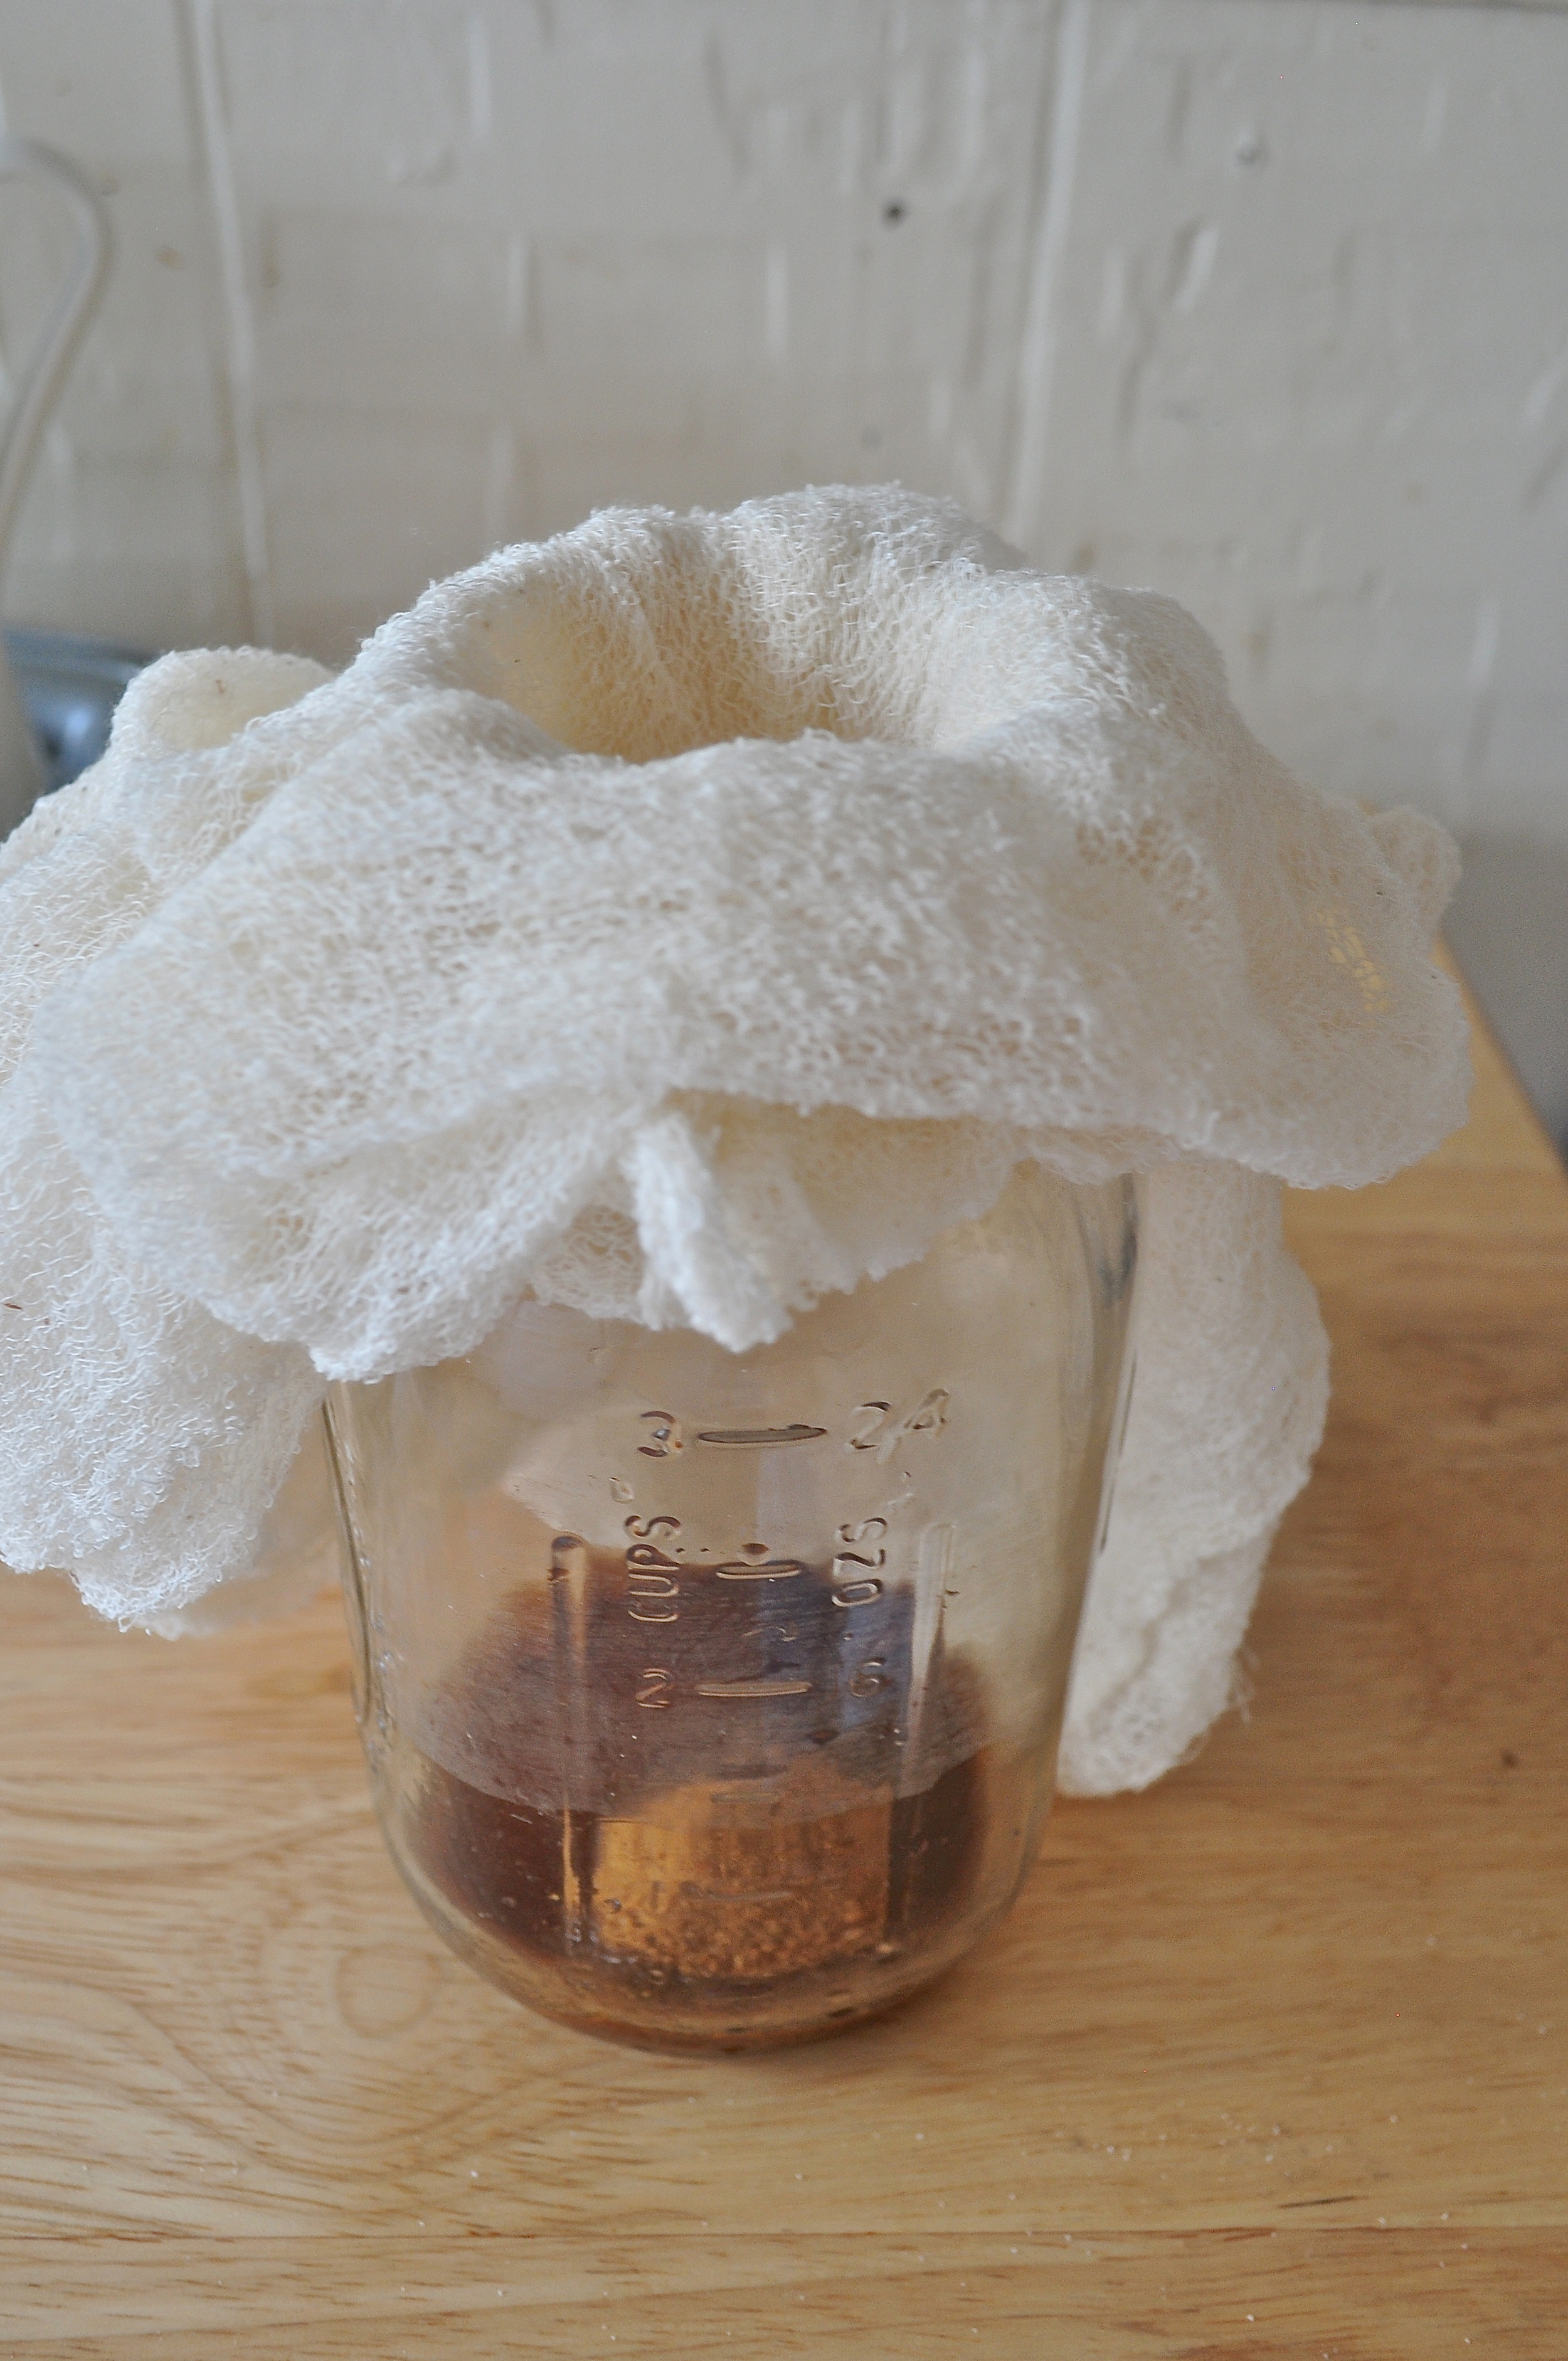
4. While you are letting that steep you can set up your jar! You can use a bowl too. Whatever is easiest to strain. At the bottom of my jar I put in the vanilla, 1/4 cup coconut sugar and dash of maple syrup.
Then pour a little at a time making sure it won't overflow. You'll have to squeeze strain the pulp with your hands every so often making sure all of the milk is out of the cheese cloth. I'll remove some almond pulp out of the cheese cloth every now and then so it doesn't get backed up. Save the almond pulp in another jar for later use (pancakes, almond flour, breads etc…)!!

5. By now you should have a separate jar with the almond pulp and your jar of fresh almond milk! Make sure you stir in the sugar.
Now if you want it thick listen up!

6. Pour half of the milk into a small sauce pan and put on medium high. Monitor it carefully because right when it starts to form small bubbles along the sides of the pan (almost boiling) then its done. The point is to thicken it up just right, so don't let it start to really boil. When its forming small bubbles, take it off immediately and pour it back in with the other half of the milk! Let it sit out until room temperature.
You did it!!!! Enjoy!!